Raspberry Pi 2 As Print Server Airprint
Caution
This page has been updated a long time ago. Information found here could be outdated and may lead to missconfiguration.
Some of the links and references may be broken or lead to non existing pages.
Please use this docs carefully. Most of the information here now is only for reference or example!
I have an old but working Samsung ML1510 printer, and everytime I want to print something I have to turn on my old desktop PC, copy my doc(s) to it and start printing from it. So I have decided to make my old printer able to work over wireless.
My goals:
- To print from my Home network over Wifi connection. I have an iPhone and it supports AirPrint.
- I have a Google account, and Google has "Google Cloud Print" service. It supports local printing and printing over the internet from anywhere. (I don't understand why people want to print from anywhere to home, but O.K. let's do it.)
Of course I can use a Raspberry PI 2 for this project, but I recommend to use RPI3, because it has built-in WIFI. In my case RPI is connected with ETH cable to my existing network (, or you can use Wi-fi stick)
Raspbian version:
Linux raspberrypi 4.4.13-v7+ #894 SMP Mon Jun 13 13:13:27 BST 2016 armv7l GNU/Linux
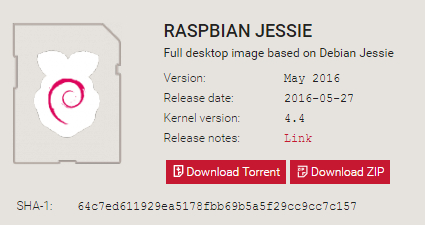
Download Link: latest
1. Samsung Driver¶
If it is needed please run update & upgrade before apt-get install:
The next step is to find a driver for your printer. I have a Samsung ML_1510 printer, after some googling I found an article which said that “splix†package contains the driver for my printer (printer-driver-splix).
Unfortunately the official Samsung linux driver does not support ARM architecture.
root@raspberrypi:~# apt-cache search samsung
bitpim - utility to communicate with many CDMA phones
bitpim-lib - architecture-dependent helper files for BitPim
heimdall-flash - tool for flashing firmware on Samsung Galaxy S devices
heimdall-flash-frontend - tool for flashing firmware on Samsung Galaxy S devices - Qt GUI
libimage-exiftool-perl - library and program to read and write meta information in multimedia files
madwimax - user-space driver for mWiMAX equipment based on Samsung CMC-730
printer-driver-splix - Driver for Samsung and Xerox SPL2 and SPLc laser printers
skyeye - Embedded Hardware Simulation
firmware-samsung - Binary firmware for Samsung MFC video codecs
sudo apt-get install printer-driver-splix
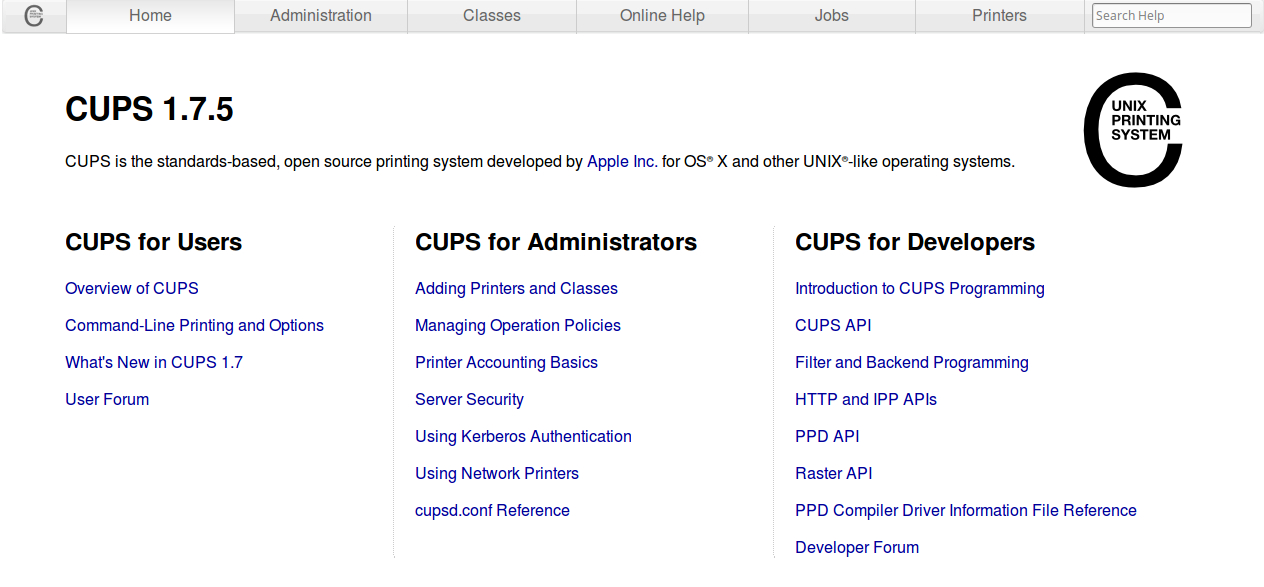
2. Installing and configuring CUPS¶
Configuring CUPS is very easy. It listens on TCP/631, and you can use your favorite browser to access the configuration page.
Because Raspberry has limited resources (mem, cpu), I use ssh tunnel to configure CUPS. (By default cups listen only on the loopback interface for security reason. Of course you can configure cups to listen on its private IP address, but I love tunnelling everything. ™‚ If you prefer this way you should change Listen localhost:631 to Port 631 in /etc/cups/cupsd.conf.)
So I created a local tunnel from another linux box in my network:
Note
I used port 1631 because non-root user can not bind port under 1025.
- Install CUPS:
- Before you start administrating you should add “pi†(or another) user to lpadmin group (or you can use root user):
- OK. Open your browser and head to http://localhost:1631 (or http://localhost:631 without tunneling or http://[IP]:631 if you preconfigured cups to listen on all interface).
- Click on “Administrationâ€. You will be prompted for a username and password. If you previously added your user to
lpadmingroup you can use it, otherwise use “rootâ€. Click “Add Printer Buttonâ€: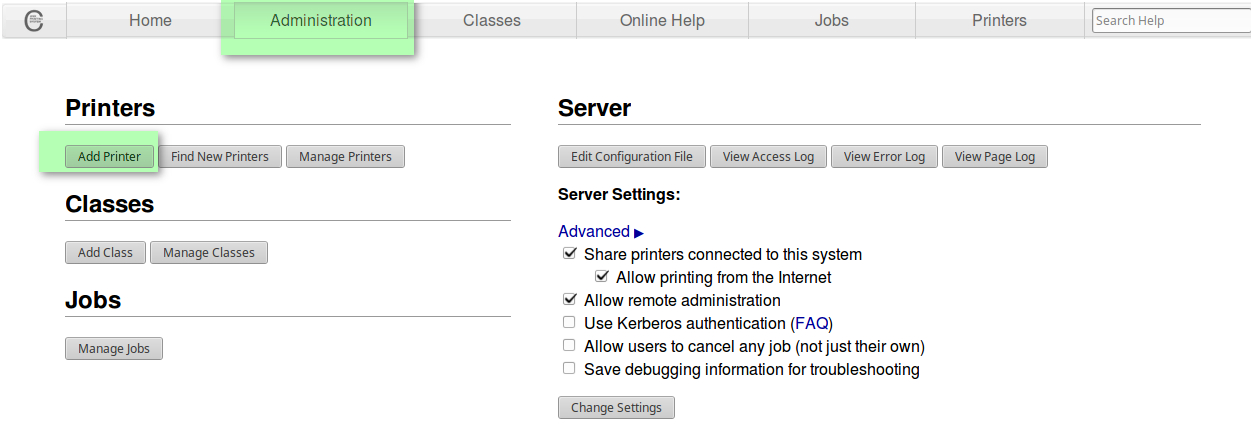
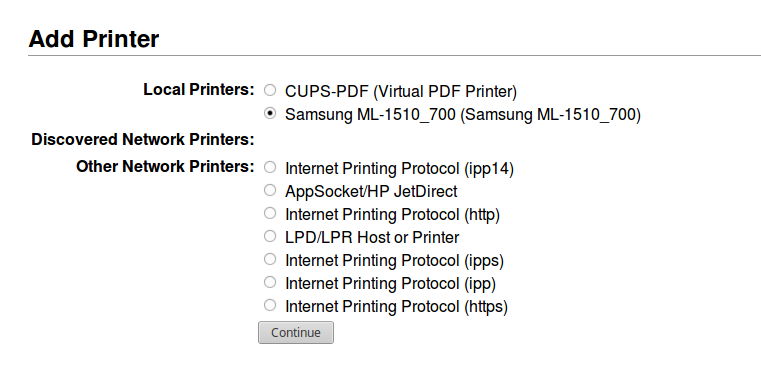
- Select your printer from the list. (In my case: Samsung ML-1510_700 (Samsung ML-1510_700)) and click continue.
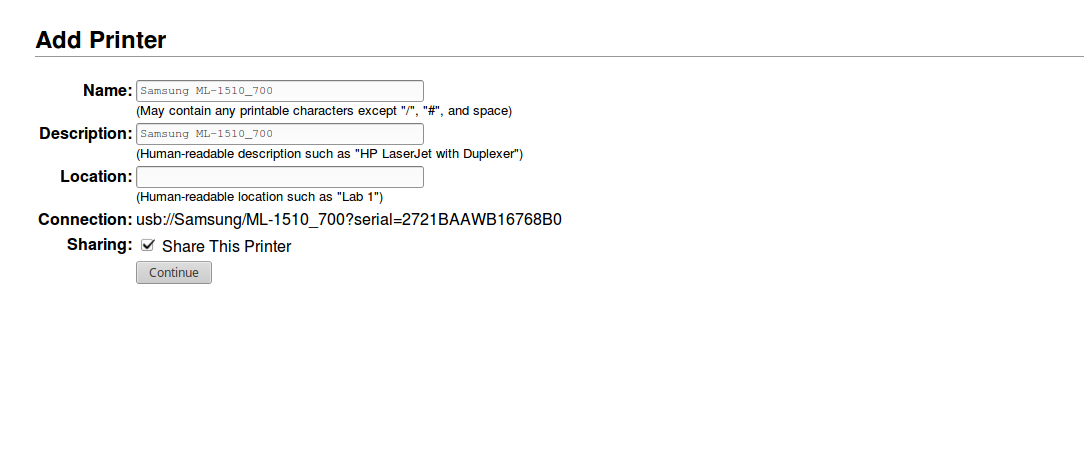
- Give a name to your printer, check “Share This Printer†and click continue.
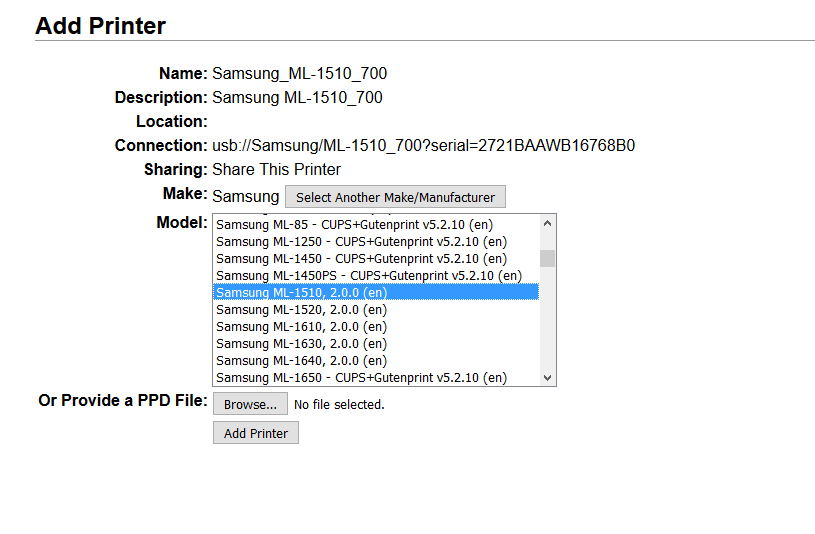
- Select your printer (in my case Samsung ML_1510) and click “Add Printerâ€
If your printer is not listed its driver is not properly installed. You have to do some research for linux driver.
- Set the default values for this printer. (I did not created a screenshot because this step is different in case of each printer.
- On the main page click “Printers†and check your newly added printer status.
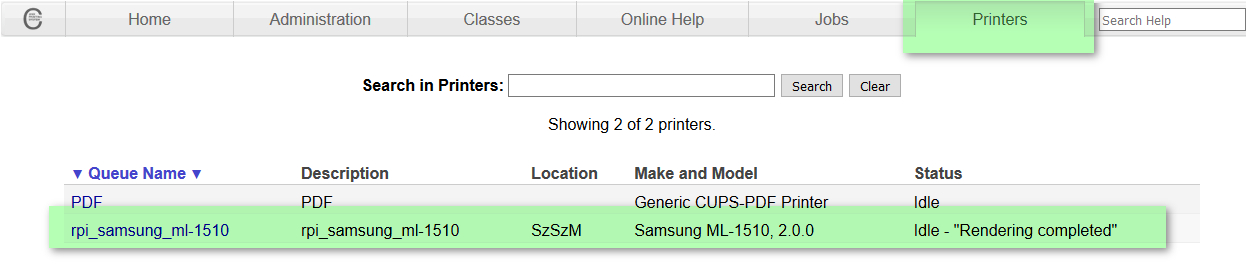
- (Optional) You can print a test page. Click on the printer’s name:
Now you can see the printer's configuration page. Click on “Maintenance†drop-down list and choose “Print Test Pageâ€: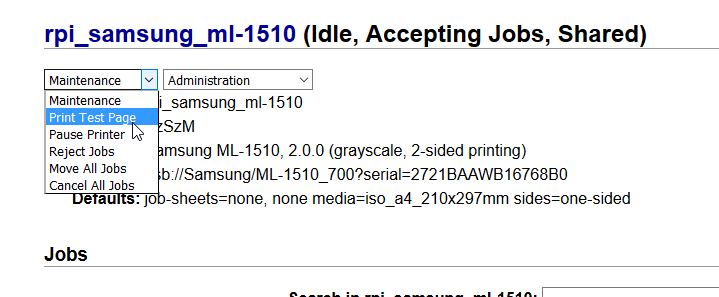
At the bottom of the page you can see the status of the printing but only for a few seconds. Next we check Jobs: Click on “Job†on the horizontal main menu, and click “Show Competed Jobsâ€: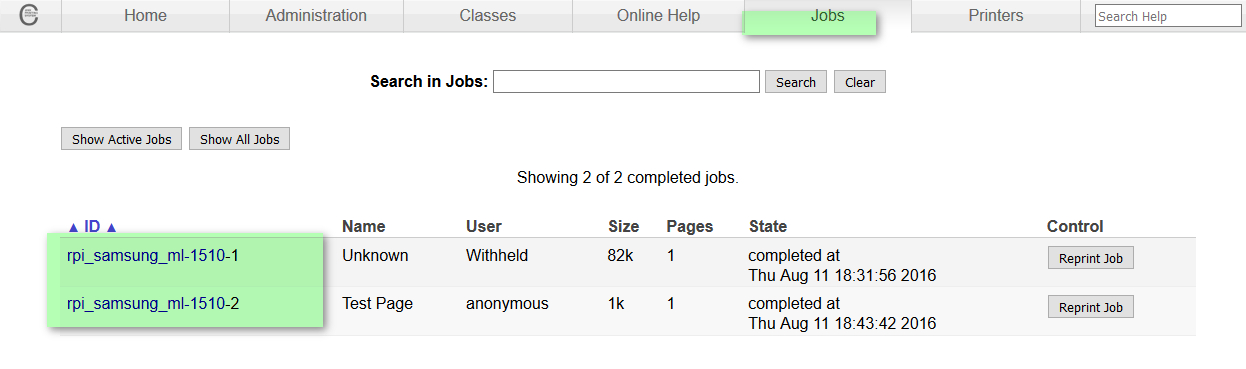
- (Optional) On the “Administration†page check:
– Share printers connected to this system
– Allow remote administration
– Allow printing from the Internet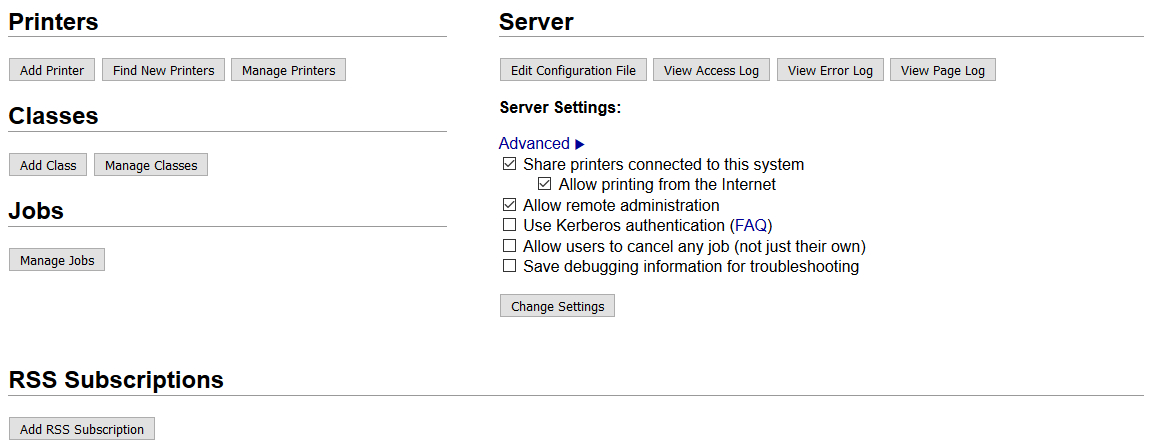
This is a very basic setup of cups, but this is just enough at the beginning. If you want to know more about CUPS visit its official website or do some google (re)search.
2. Make you printer available for Air print¶
This step is incredibly easy, just one command:
sudo apt-get install avahi-discover avahi-daemon
I found some articles about “cups airprint setup†which are much complected, but somehow in my case it works with installing only the avahi damon and discover. Links:
- http://iain.polevaultweb.com/2014/03/setting-raspberry-pi-print-server-airprint-support/
- http://www.lynsayshepherd.com/blog/2015/10/18/wireless-printingairprint-server-via-the-raspberry-pi-updated-guide/
- https://wiki.debian.org/AirPrint
NOTE: Of course you have to connect your RasPI to the same network which used by your Wifi, and connect your phone to it in order to make everything work fine.
3. Add your printer to Windows 10¶
So I think if you configured a network printer you would like to use it from another system(s).
If you don’t share your printer via SAMBA you can use your printers URL to connect to it from Win10. You can check this URL by accessing the admin page of cups.
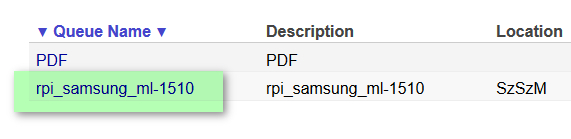
Click on “printers†and select the printer you want to connect to: 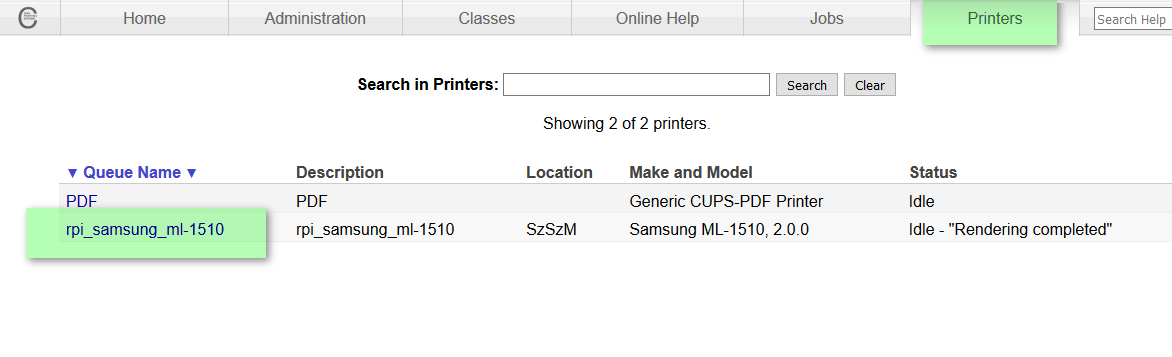 Copy your Printer URL to clipboard from your browser Address Line! For example:
 https://172.16.0.210:631/printers/rpi_samsung_ml-1510
4. Windows Setup:¶
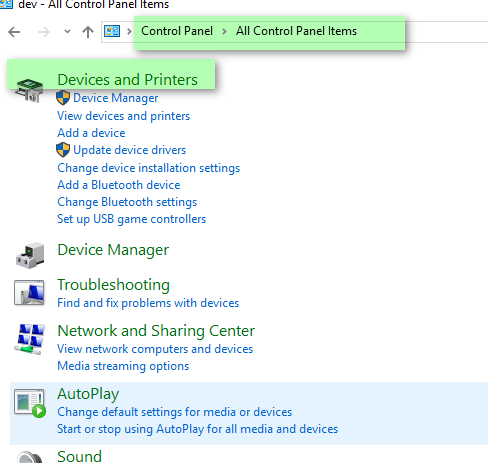
- On Windows system click “Device and Printers†in the control panel.
- Click Add printer
- Click The printer that I want isnt listed
- Click Select a shared printer by name†and paste your printer URL:
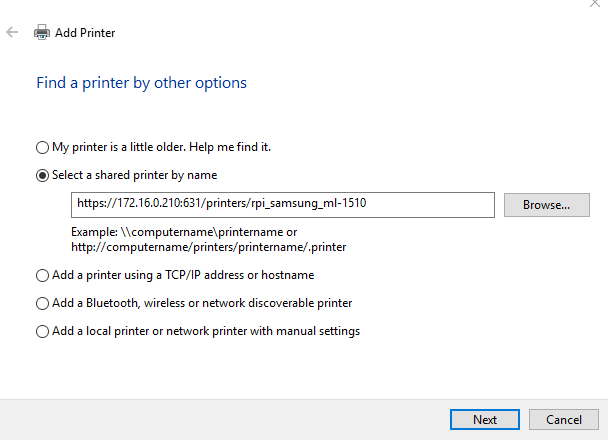
- Click Next. If Windows can not connect to you printer, try without SSL (http).
- Select your printer’s driver and click finish.